
When you send me a SketchUp model for a photoreal render, I keep the geometry of the building itself and rebuild almost everything that sits on its surfaces. Walls, slabs, openings, roof pitch and the camera positions you saved as scenes usually survive. Materials, furniture from 3D Warehouse, glass, plants, curtains and every light get replaced. That's not a criticism of SketchUp. It's a superb tool for designing a space, and a poor one for describing how light behaves on oak, linen or brushed brass.
Here's what happens to a typical model on my side, and what you can do before you send it so the job goes faster.
What survives from a SketchUp model
The architecture, mostly. If the model was drawn to real dimensions in millimetres or metres, the shell comes into Blender at the right scale and I can trust it. Window and door openings, ceiling heights, stair geometry, built-in joinery drawn as solid groups: all of that stays. I'll check a few dimensions against the PDF plans (one room width, one ceiling height, one window head), and if they match I stop worrying.
Saved scenes are gold. If you've already set up the views you like, I copy those camera positions and lenses as a starting point. It saves a back-and-forth about angles.
Groups and tags help too. A model with the kitchen on one tag and furniture on another lets me switch whole layers off in a minute rather than clicking through 900 loose faces.
What about the SketchUp renders people make with a plugin inside SketchUp itself? They can look decent at 1,500 px for an internal review. The trouble starts when the same image needs to go on a sales brochure or a 4K screen at a show flat, because then every soft shadow, every flat texture and every faceted chair leg gets magnified. That's usually the moment people send the model to me, and it's also why I don't try to keep their plugin materials: I'd rather start the surfaces clean than inherit settings I can't see.
What I rebuild, and why
Materials go first. SketchUp textures are usually small images, often 512 or 1,024 px, tiled every metre or so. In a viewport that's fine. In a 4,000 px render the repeat becomes obvious on a floor, and the wood has no roughness variation, no bump, no reflection that changes with the viewing angle. I replace every material with a physically based one: real oak with its own grain scale, plaster with a slight unevenness, tiles with grout that sits a fraction of a millimetre lower than the face.
Edges come next, and this one surprises people. SketchUp corners are perfectly sharp. Real objects aren't, and a worktop, a door frame or a table top with a 1 to 2 mm rounded edge catches a thin line of light that your eye reads as "real". So I add bevels on everything the camera gets close to. It's a small thing that does a lot of work.
Then the furniture. Most 3D Warehouse sofas and chairs are built for a quick look: cylinders with 12 or 24 segments, so a round table leg shows visible flat facets in close-up, cushions that are boxes, fabric with no thickness. I swap them for proper models with soft folds and stitching. Where you've specified a real product, I match it as closely as I can from the manufacturer's photos and dimensions.
Glass is often a single face in SketchUp. A render engine needs thickness to refract light properly, so windows get rebuilt as real panes in a frame. Plants drawn as flat "face-me" cutouts get replaced with 3D ones. And lights don't exist in SketchUp in any physical sense, so every pendant, downlight and strip is set up from scratch with real wattage-like intensities and colour temperatures around 2,700 to 3,000 K for homes.
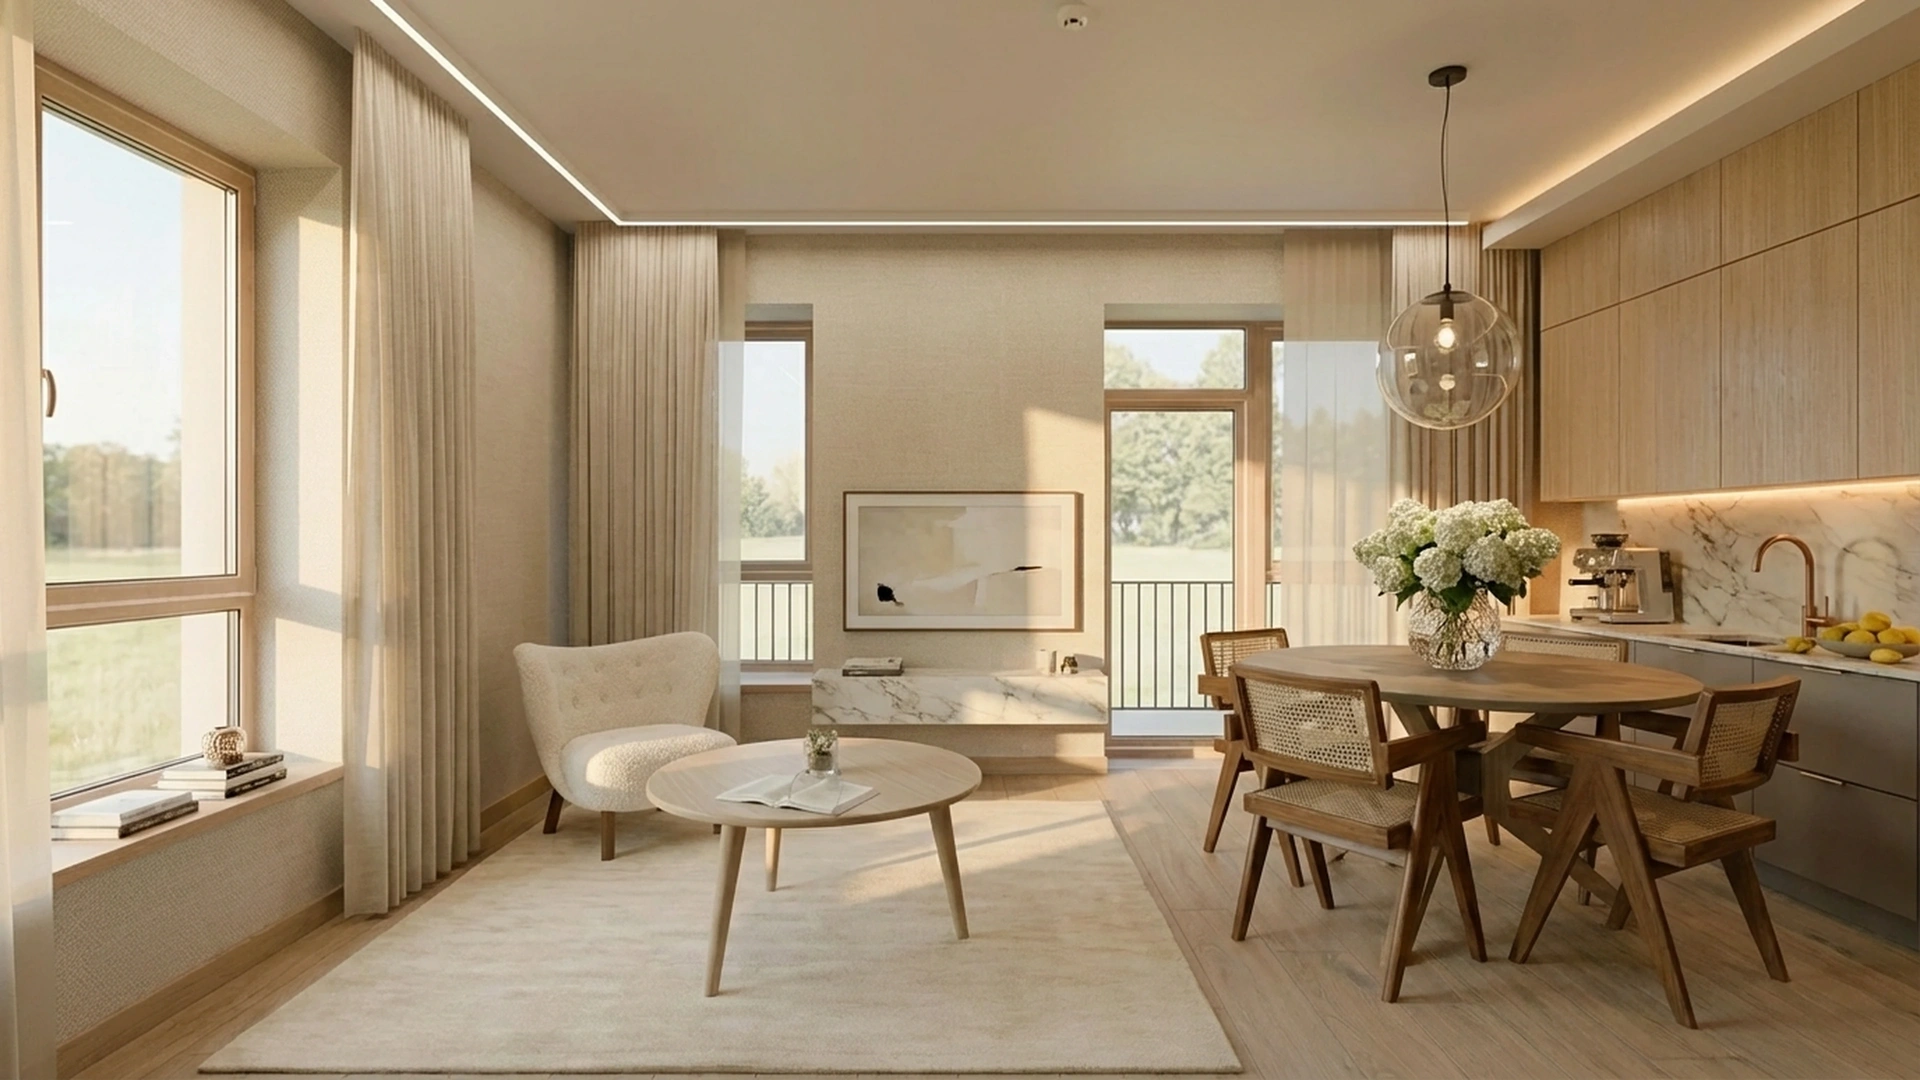
The model problems that cost me hours
Some of the slowest jobs I've had came from the most detailed SketchUp files. Last spring an architect sent me an apartment model of about 180 MB with roughly 40 furniture components pulled from 3D Warehouse, half of them stand-ins nobody had chosen yet. Cleaning it took longer than drawing the shell would have. I spent most of an afternoon finding which sofa was the real one.
The usual suspects, in rough order of how often I meet them:
- Reversed faces. SketchUp shows the blue back face without complaint. A render engine shades it wrong or makes it see-through.
- Overlapping surfaces. Two coplanar faces fighting each other, which shows up as flickering stripes on a wall.
- Wrong units or scale. A model drawn in inches and exported as metres, so a door is 80 m tall.
- Hidden geometry everywhere. Old design options left on hidden tags, which still come through on export.
None of these are disasters. They just add time, and on a tight first preview that time comes out of lighting and materials, which is where the realism actually lives.
What I'd actually send
My take, after a lot of these: send me a clean massing model, not a decorated one. The walls, openings, built-ins and your saved scenes in the original .skp file, plus a separate list or mood board of the furniture, finishes and fittings you want, with links to the real products where you have them. That combination is faster for me and gives you a more accurate result than a model full of approximate 3D Warehouse pieces.
Is a SketchUp model even necessary? No. I can work from PDF plans and elevations alone, and many clients send only that. But if you designed in SketchUp, the model removes a whole round of questions about heights and openings, so do send it.
A few small things before exporting help a lot:
Purge unused components and materials (Window, Model Info, Statistics, Purge Unused). It often halves the file size. Check the units under Model Info. Delete the design options you rejected rather than hiding them. And tell me which scenes you care about, because I'll treat those as the brief.
How this affects price and timing
It doesn't change the price per view. An interior is from EUR 250 per camera angle and an exterior from EUR 450, whether you send a SketchUp model, a Revit file or a stack of PDFs, and the full list is on my architectural rendering prices page. Three views of an apartment, for example, come to EUR 675 with the 10% multi-render discount.
What a good model changes is speed. With a clean shell and a clear furniture list, I aim to show you a first preview about 3 business days after the brief is complete, and the two included revision rounds go on lighting and styling rather than fixing geometry. With a messy model, some of that time disappears into cleanup before you see anything.
Exteriors follow the same logic. For a house, the SketchUp shell is usually spot on, and the rebuilding happens in the landscaping, the cladding texture, the glazing and the sky. If you're curious how that looks finished, the modern cabin exterior study started from a simple model like this, and there's more on my exterior rendering services page.
If you've got a SketchUp file ready, send it with your plans through the quote form and I'll come back with a non-binding quote and a note on what, if anything, needs cleaning first.